The Day Trip: Lightweight but Prepared for Defects
For a ride of a few hours, you don't want to drag along kilos of luggage, but there are a few things you cannot do without. The focus here is on mechanical self-reliance.
The Essential 'M-Check' and Repair Kit
Before you leave, perform the M-check: check your bike from the front hub, to the handlebars, the pedals, the saddle, and the rear hub (in the shape of an 'M'). Check your tire pressure and brakes.

What to bring?
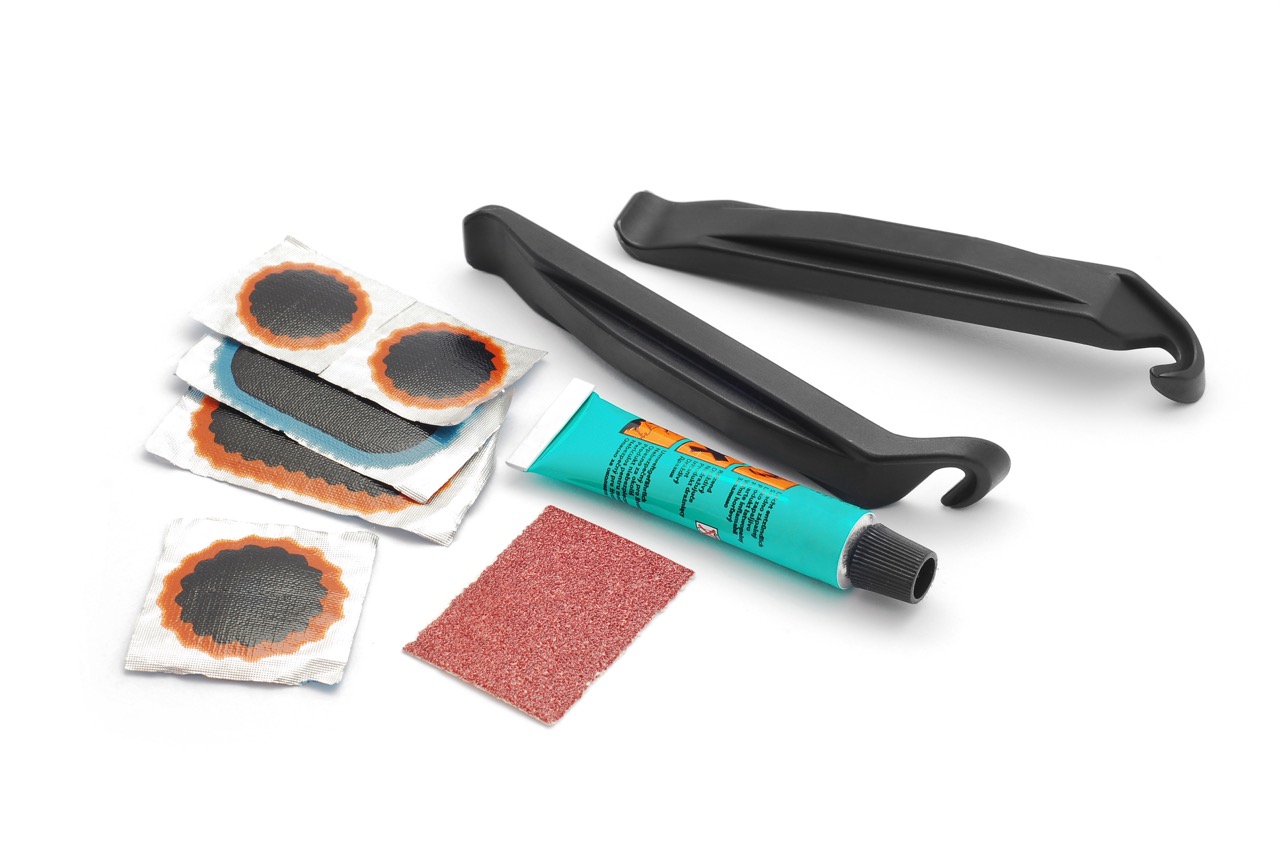
- Inner tube & Tire levers: Even if you ride tubeless, a spare tire is essential for large tears that the latex doesn't seal.
- Compact Pump or CO2 cartridge: Electronic pumps are very popular these days because of their constant pressure and compact shape.
- Multitool with Allen keys: For tightening a rattling bottle cage or adjusting your saddle.
- Chain breaker & Quick-link: A broken chain doesn't have to mean the end of your ride. You can click a 'missing link' in between in no time.
- Smartphone: Not just for navigation, but also to find a local bike mechanic immediately via Velospots.com if things really go wrong.
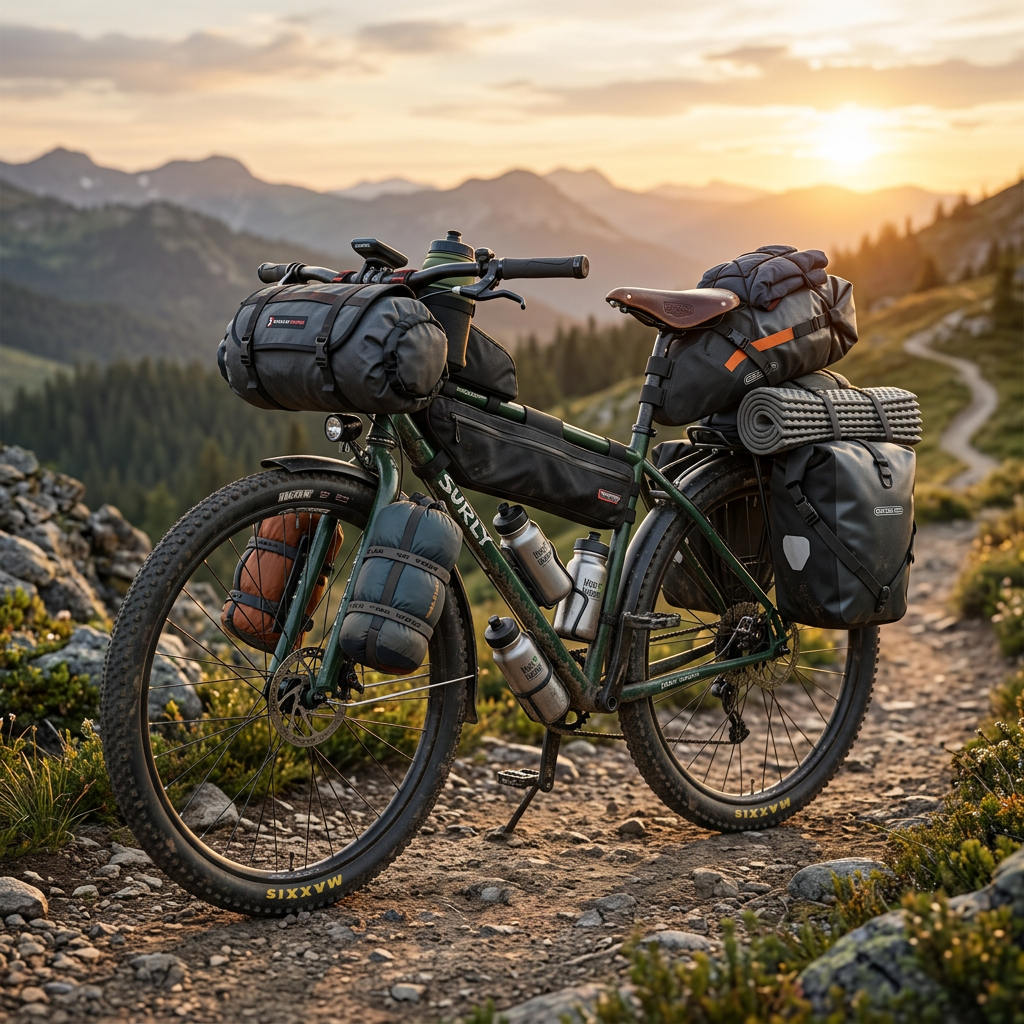
Multi-day Trips & Bikepacking: Logistics and Comfort
On a multi-day trip, the focus changes. You don't just have to maintain your bike, but also yourself. Here, everything revolves around weight distribution and durability.
Smart Packing (The Art of Packing)
Research on panniers (bicycle bags) shows that weight distribution is crucial for stability.
- Heavy items at the bottom: Place tools, cooking gear, and tent poles at the bottom or in the middle of your bags, as close to the axles as possible. This lowers your center of gravity.
- Accessibility: Keep your rain jacket and first-aid kit on top. Nothing is more annoying than unpacking your entire bag during a sudden hailstorm.
- Drying clothes: On long tours, moisture is your enemy. Use safety pins to pin wet socks to the outside of your bags, but be careful: never do this during fast descents to prevent clothing from getting caught in your spokes.
Energy and Hygiene
- On-board Power: For rides in remote areas (such as the High Fens), a hub dynamo with a USB charger is a goldmine. This way, you remain independent of power outlets.
- Nutrition: Professional cyclists aim for 60-90 grams of carbohydrates per hour during tough rides. For a recreational bikepacker, a constant supply of 'real food' (nuts, bananas) is more important than just energy gels.
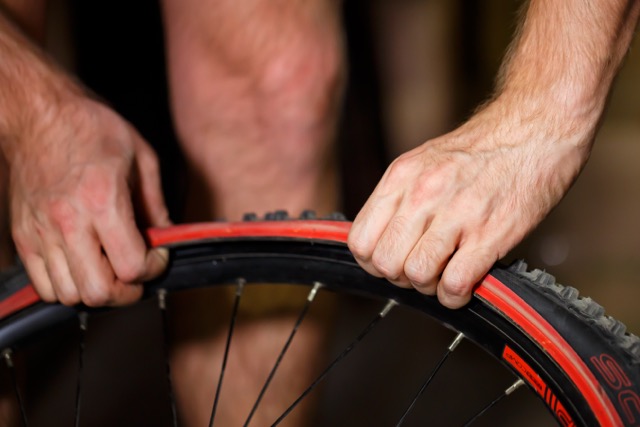
The 'Pro' Tip: Practice your Skills
Having equipment is one thing, knowing how to use it is another. Especially with modern tubeless-ready rims and narrow racing tires, changing a tire can be incredibly stiff.
My advice as a bike mechanic: Practice at home in your garage. Try to take that tire off and put it back on without the pressure of an approaching rain shower or a ticking clock. Use the right technique: push the bead of the tire into the deepest center channel of the rim to create space.
The Velospots Toolbox (Checklist)
- [ ] Spare inner tube (check the valve length for your deep-section rims!)
- [ ] Tire levers (at least two sturdy ones)
- [ ] Mini pump or CO2 pump
- [ ] Multitool (including chain tool)
- [ ] Chain-link (matching your gears, e.g., 11-speed or 12-speed)
- [ ] Power bank or charged smartphone
- [ ] Identification & Emergency cash
Mobility Insights
Did you know that many bicycle leasing contracts (via employers in Belgium and the Netherlands) include roadside assistance insurance? Check your policy! Often, in case of an irreparable defect, you are brought home or to the nearest bike mechanic for free. This provides an extra sense of security during your first big trip.
Next Step
Do you have a creaking sound after your ride? Then read our article on "Bike Maintenance: What Can You Do Yourself?" or find a certified expert in your area via our Velospots map.